此篇作为对 2019 整年的简单回顾
首先得接上上篇,嘉善半马 PB 比之前快了十分钟哈哈,214.
刚才在准备写这篇的时候,想想我该起个什么标题好,脑海中还在播放去年写年终篇《你好,依旧》时的画面。
延续风格,《你好,贰零》出炉!
今年春节来得早,过完元旦再过个两周就春节了,今年没什么输出,大致看了下去年的一些文章还感觉好像也就不久前写的,一下子过一年了。甚叹。
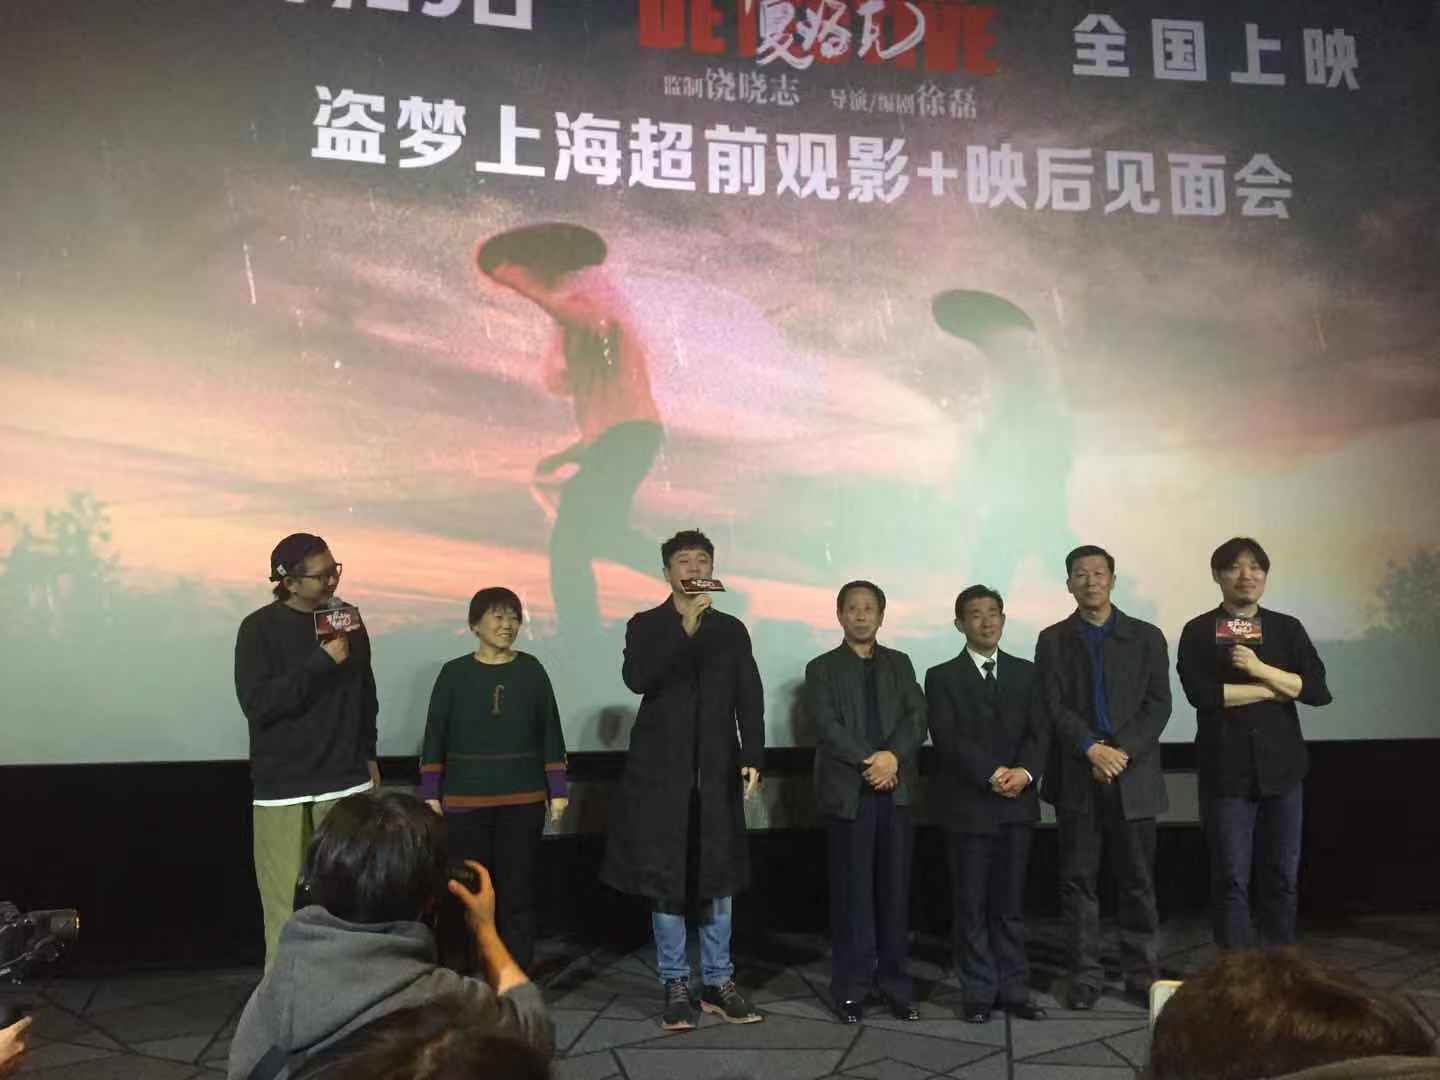
今年书看得少了,倒是看了不少电视剧,这算不算得上是精神上的一种疲呢。《权力的游戏》、《硅谷》、《绝命毒师》、《越狱》、《风骚律师》……美剧居多。《小欢喜》、《陈情令》以及最近比较火的《庆余年》这类电视,说实话确实是美剧看得更有意味点。
2019,公司旅游去了趟塞班岛,风景绝佳,消费颇高;
2019,又看了几场 live house,孤独者的狂欢;
2019,酒吧喝喝酒,听听音乐,还是没把到妹;
2019,生命不息,运动不停,跑步没拉下;
2019,长了十几斤肉,肥肉?不可能;
2019,两块半马完赛牌,PB 214;
2019,回家次数比去年要多;
2019,我姐终于嫁出去了;
2019,还是没搞到钱!
2019,昆明去了好几趟,把昆医体育馆这个项目给顺利弄完了,吃到了特色小吃去大学城走了走遗憾的是没有足够的时间去周边地区好好逛逛,听说泸沽湖相当美啊。云南的天确实很漂亮,气候也相当不错,只要不在阳光下直射。之前还跟大学室友讨论要不要搞个名宿,大搞一笔,可也只能是口嗨下罢了,一是资金,二来我们也没路子,若是保障每月都有稳定的人流量,那便不在话下,我就是卖血也去干啊。确实像云南四季都是旅游季,独特风景又数不胜数,适合不过了。突然想到之前去乌镇玩,那时候网上定的名宿,其实就是街边的房子一改造。那一条街两旁的房子不是用来住宿就是用来吃喝,真的带动了那一大片。有时我一想,要是真弄了个名宿这种的,刚好爸妈可以去帮忙运作而我继续上班,也不耽误,可这远了也不现实而已。千岛湖?不晓得。
今年科技热潮,5G 也带动了不少行业的热度,单从股价上就可以看出,不少都翻了好几番。老美的经济结构组成上可以看出科技是未来,科技是领头军,而中国经济结构大头还是地产和金融,科技现在也正慢慢上来,未来毋庸置疑,肯定是科技大头。可以看到中国改革还是有很大幅度的同时也藏着许多的机会。最近,小米发布了首款售价低于 2000 的 5G 手机,这一下,小米股价涨得那可不少,距离腾讯乘以苹果的市值又更进了一步!
今年还是在这家公司,事情是越做越杂了,有时候也深深感到内心的疲惫。一张一弛,又快一个年头,又是一个深冬。每每双脚踏出大厦,念及岁月蹉跎,明日生活何许,我又有何长进,苦矣。次次眼望灯火大厦,呆呆看那人来人往,何时何地我又能遇到何人,眼角不觉泛起一丝波动。何曾想,本就因该司基本不加班朝九晚六,可以偷得些许清闲时间为我所用,最近几天却基本弄到凌晨才昏沉回去,第二天又匆匆赶来。
↓↓ 附上年度总结 ↓↓
时间一晃而过,转眼间到公司已经一年多了。这是我人生中弥足珍贵的一段经历。在这段时间里各级领导在工作上给予了我极大的帮助,在生活上给予了我极大的关心,让我充分感受到了领导们“海纳百川”的胸襟,感受到了同磊人“不经历风雨,怎能见彩虹”的豪气。在对公司各级领导肃然起敬的同时,也为我有机会成为公司的一份子而自豪。在这一年多的时间里,在领导和同事们的悉心关怀和指导下,通过自身的努力,各方面均取得了一定的进步,现将我的工作情况作如下汇报。
一、通过培训学习和日常工作积累使我对同磊公司有了一定的新的认识
在这近一年的时间里,对建筑行业和公司有了更深一步的了解。公司的理念在平时的工作以及项目开发时体现的淋漓尽致,本人对公司的理念非常认同。公司一直在技术更新中健步发展,令人敬佩。公司以人为本、尊重人才的思想在实际工作中贯彻,这是同磊公司能发展壮大的重要原因。现在公司在钢结构建筑监测以及张拉行业起到了举足轻重的地位,今后还将更加辉煌。
二、遵守各项规章制度,认真工作,使自己素养不断得到提高
爱岗敬业的职业道德素质是每一项工作顺利开展并最终取得成功的保障。在这一年多的时间里,我能遵守公司的各项规章制度,兢兢业业做好本职业工作,用满腔热情积极、认真地完成好每一项任务,认真履行岗位职责,平时生活中团结同事、不断提升自己的团队合作精神。近期也因公多次出差,在项目现场也需要与业主方等进行有效沟通,这也积极锻炼了我的沟通、交际能力,渴望有所突破的我,将会在以后的工作和生活中时时提醒自己,以便自己以后的人生道路越走越精彩。
三、认真学习岗位职能,工作能力得到了一定的提高
根据目前工作分工,我的主要工作任务是:
(1) 负责公司钢结构建筑监测系统的开发;
(2) 现场采集仪器的调试以及负责监测系统集成;
(3) 参与 BIM4D 项目的开发。
四、不足和需改进方面
虽然加入公司这个大家庭已经一年有余,但可能由于跨行业,对建筑方面的一些知识和了解还是很欠缺的。交际能力也是大多数程序员比较缺乏的当然包括我在内,我也希望能够在今后的工作中更加迅速的提升自己的业务能力以及技术能力。
2019,没发生什么改命的事,也没什么废命的事;
2019,还是在上海眼望辉煌,勉强度日;
2019,事无巨细,笑口常开;
你好,20!